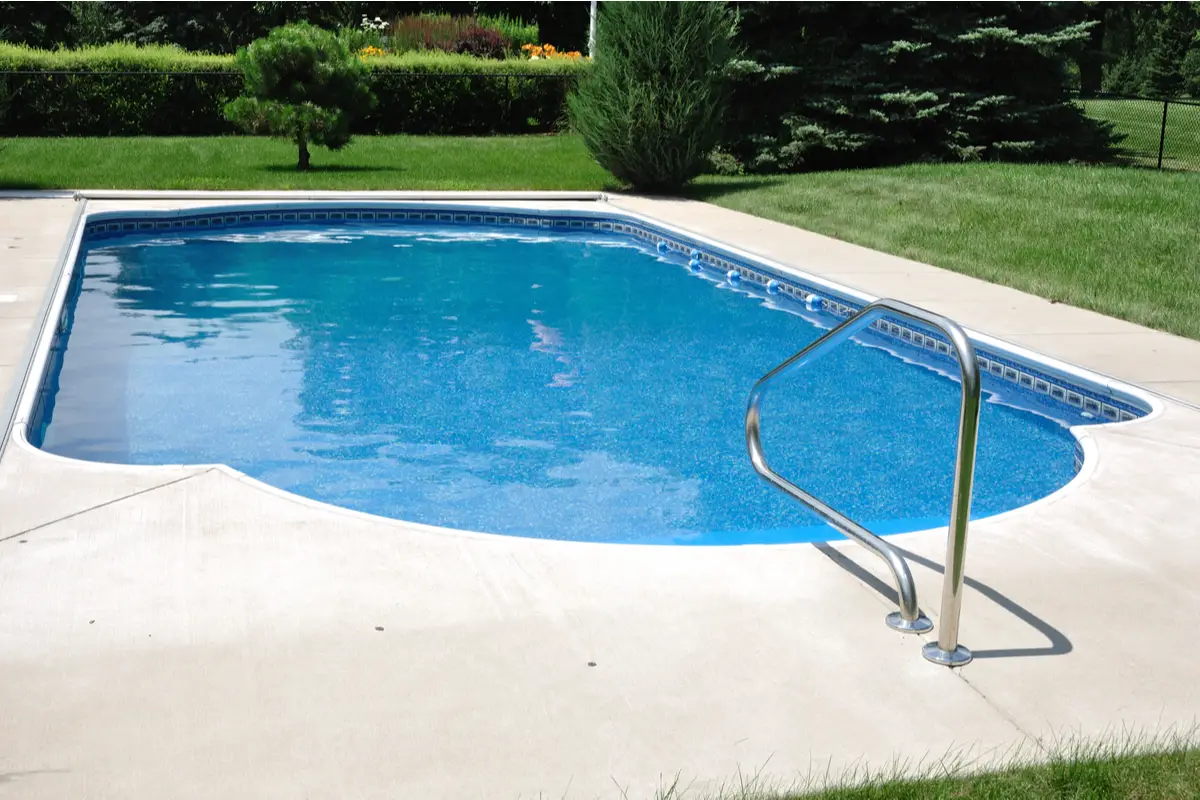
![Can An Inground Pool Be Installed On A Slope? [Guide to Pools on Sloped Yards]](https://allaboutpools.org/wp-content/uploads/2022/04/Can-An-Inground-Pool-Be-Installed-On-A-Slope-e1651096572546-768x376.jpg)
You’ve always wanted to install an inground swimming pool at home, but you may not want to go through the hassle of digging a hole in your yard or for some, you wonder if an inground swimming pool can even be installed on a sloped yard?
An inground pool is an excellent option for homeowners who love water sports or enjoy spending time outdoors, including those that live on a sloped landscape. They also provide a relaxing environment for children and adults alike. The only potential concern is that installing an inground pool requires a lot of space and a significant investment.
Installing A Swimming Pool On A Sloped Yard
There are several ways to build an inground pool on both a flat area or a sloped area, such as using concrete blocks or precast panels.
If you live in a cold climate, you might consider making a heated pool, but if you want to save money, it’s best to stick with a traditional installation method. For those of you with sloped yards, we have provided the answer and methods to being able to install a swimming pool on a sloped yard.
So here’s our step-by-step guide on how you can build an inground swimming pool on a slope. Enjoy!
Step 1: Build Your Foundation First
Prepare a foundation for your pool by clearing out all existing landscaping.
You’ll need to remove rocks, shrubs, and trees so that they won’t damage the concrete slab during construction.
Next, measure the depth of the ground where you plan to place the pool. This will determine whether you’ll use a free-standing or built-in style.
Free-standing pools require more space than built-ins, so make sure you have enough room before starting work.
When choosing between the two options, consider what materials you’d like to use when constructing your pool.
For example, some people opt for prefabricated pools while others prefer custom design. Whatever style you choose, it’s essential to consider the size of your pool first.
Then, decide if you would rather have a deep or shallow pool. Once you know the size of your pool, you can easily calculate its depth. Many people wonder whether you can have a deep end with a semi inground pool or not, the answer is yes, but you have to build the foundation with that in mind.
Step 2: Install Concrete Blocks
To create the pool’s base, lay down a layer of gravel beneath the concrete block flooring.
Ensure that the gravel is at least three inches thick since this will help prevent any shifting or sinking over time.
Then, cover the gravel with sand and cement. Mix both together until the mixture has reached the right consistency.
It should be easy to form into a flat surface; however, add extra cement if necessary.
To secure the concrete blocks securely:
- Apply a thin layer of mortar to each joint.
- Use a trowel to spread the mortar evenly across the entire area.
- When done, allow the concrete to dry completely before step 3.
Next, fill the cracks and holes by removing the old landscaping with pea stone.
Make sure not to leave any gaps around the edges of the concrete blocks.
This is especially important when creating the roof of the pool.
Step 3: Lay Out And Install Piers
Depending on which style of inground swimming pool you choose, you may need to construct piers to support the pool’s walls.
These piers can either be made of wood or steel.
Wooden piers cost less but tend to rot over time, whereas steel piers last longer but are more expensive.
Once again, you’ll start by laying down a layer of cement under the blocks.
Choose a suitable material for outdoor applications, such as concrete, asphalt, or epoxy resin.
Next, spread the pool liner onto the concrete blocks and smooth out the surface with a masonry tool.
Allow the concrete to harden before continuing.
As a rule, concrete pier caps or footings should extend beyond 12 feet below ground level.
However, there can be exceptions depending on the location of your home.
Keep in mind that the bottom of the pool needs to remain at least 18 inches above the ground to ensure proper drainage.

Step 4: Pour Waterproofing Material
If you’re installing a custom-designed pool, you’ll need to pour waterproofing material around the pool’s edge.
The easiest way to do this is by using a liner system.
Liners come in several styles, including fiberglass liners or plastic liners.
We recommend going with a fiberglass liner to keep things simple.
You’ll also need to install a liner around the top rim of the pool.
Again, you can choose to go with fiberglass or plastic.
If you want to install a liner without digging up lawn and garden areas, you can skip this step and continue to step 5.
Step 5: Adding Steps
If needed, you can build steps to access the pool after pouring the waterproofing.
For example, you’ll typically need stairs to get safely in and out of pool. Unlike pool steps and ladders for an above ground pool, inground pools usually require the steps be added as part of the initial pool installation.
Step 6: Build Back Wall
Before adding decorative features to your pool, you’ll need a back wall.
This is usually constructed using cinder blocks. However, it can also be built using bricks or pavers.
Step 7: Finish Your Project
If you plan to have a deck surrounding your pool, it might help to build one first. After all, a deck will likely be much easier to create than a backyard patio. While decks vary from person to person, most have the same essential components.
First, you’ll need to lay down a layer of subbase material – usually crushed gravel – underneath the concrete deck.
Next, you’ll add joists spaced about 16 inches apart.
The final step is to attach rails to the inside corners of the deck. Then, cover the rails with molding to give the finished product a clean look.
When installing a pool, you don’t necessarily need to hire professional help. All you really need is some knowledge and common sense.
Pool owners should consider setting up a pool fence. A fence keeps children and pets away from the water.
This helps protect them from drowning. However, barriers can sometimes lead to safety problems. For example, children may climb over them or use them as a jumping platform.
In addition, animals such as dogs and cats may find ways to jump into the pool through gaps between the boards. To avoid these problems, make sure the fence is easy to see when looking at the pool area.
You should also keep in mind that fencing is only adequate if there isn’t any higher landscaping around the pool’s edge. If this is the case, you shouldn’t worry too much about fencing around your pool. Another option would be to purchase a pool alarm. These devices automatically sound off whenever someone enters the water.
The best swimming pool alarms work by detecting temperature changes. They also alert you through a phone line, so you know who’s entering the pool.
You could also try monitoring the pool via a webcam. Again, it’s relatively inexpensive and safe. Just ensure that the device has good lighting and that no one blocks its view before purchasing it.
How To Install Your Own Inground Pool
To install your own pool, you need a cement slab and a liner, but first determine where to place your pool and how close your swimming pool can be to your house (according to your local municipality).
Once you’ve got everything set up, you’re ready to start digging. We suggest starting with a trench.
You can dig this using a hand shovel or even a rented rotary tiller, but heavy construction equipment will save a ton of time & energy,
Regardless of what you choose, make sure you get rid of anything that might fall in the hole.
Once you’ve dug your trench, you’ll put it at the pool’s base.
Typically, you’ll pour 2 feet of sand mixed with pea stone or concrete into the bottom of the excavation.
Then, you’ll add another 2 feet of sand and continue building layers until the entire pool is completely covered.
Once this is done, you’ll have to lay down some support structure.
While most people opt for pouring concrete into place, others hire a professional swimming pool contractor to do the job.
Either way, you’ll need to secure the walls of your pool to prevent sinking.
Once that’s been taken care of, you’re free to add a swimming pool liner. Again, you can choose from vinyl liners or fiberglass liners.
Vinyl liners are easier to install and repair than fiberglass liners. Still, neither material comes cheap. Fiberglass liners are typically more expensive than vinyl liners but last longer.
A common mistake many homeowners make is using a liner without lining the edges first. This creates a gap that allows algae to form. Once your liner is installed you are essentially good to go! Now, time to accessorize and beautify the area around the inground swimming pool.
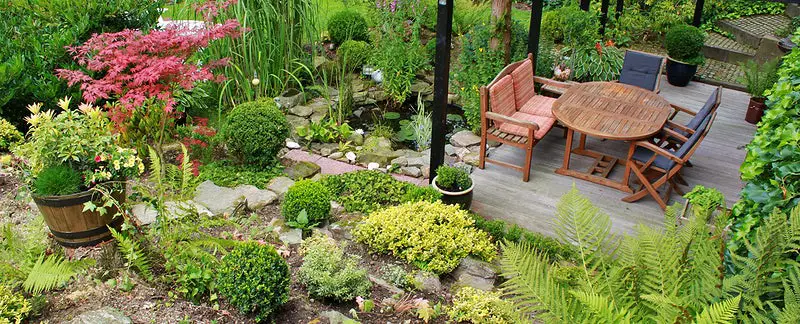
Hiring A Landscape Designer For The Area Around Your Pool
When searching for a pool landscaping company, ask questions like:
- Is the company licensed and insured?
- Are there licenses for each employee?
- Do I need to sign contracts?
- What landscaping do they recommend for a sloped yard?
- Will the company provide references?
- What kind of warranty does the company offer?
Keep in mind that it’s better to spend a little extra money and hire a qualified professional than to hire a friend or relative who doesn’t have experience designing pools.
Once you’ve narrowed down your search, call the company and request a consultation. During this meeting, you’ll receive details on their services and pricing, as well as ideas for your sloped yard.
In addition, ask for samples of previous projects and pictures of completed designs. After viewing the samples and photos, take time to discuss the project.
If you feel comfortable doing so, ask if the company will design everything, including landscaping. Many landscape designers don’t charge for providing ideas.
Still, they may charge hourly rates if you decide not to use them as the leading designer.
It also depends on whether you give the landscape designer full responsibility for planning and executing the project.
Don’t forget to take advantage of any rebates available when purchasing materials.
For example, many municipalities provide discounts for buying your materials through a particular retailer.
As always, shop around and compare prices to save money.
Inground Swimming Pool Cleaning Tips
One of the best ways to keep your pool looking pristine is to buy a pool cleaning kit. These kits include everything necessary to clean your pool.
The most essential components of these kits can include a vacuum cleaner, suction hose, brushes, chemicals, and ladders. You can also buy a swimming pool cleaner or automated cleaning robot as well.
You should regularly clean the bottom of your pool with a brush designed specifically for cleaning concrete.
Many kits instruct you to scrub the bottom of the pool twice a week.
However, some people recommend washing it once every other day instead. We think this is a bit overkill, but either way works well. You should also clean the walls and skimmers often.
You do this by either washing them yourself or calling a professional service.
Before beginning any maintenance work, consider wearing rubber gloves.
Rubber gloves protect your hands against sharp debris that could cut you.
They also prevent you from inadvertently touching anything that will chemically harm you.
Checking Your Pool Water Levels
The easiest way to check how much water is staying in your pool is to fill it.
Before filling your pool, however, make sure the pump isn’t draining too much water out of it. This is especially true during the winter months when the temperature is low.
If the pump drains more water than necessary into the sewer line, there’s probably something wrong.
It’s perhaps a faulty valve at the top of the pipe. Turn your breaker off and inspect the valve thoroughly.
If nothing seems wrong, call someone who has experience fixing valves. If that doesn’t help, try opening the valve manually, and, if water flows freely, then there’s a problem with the valve.
Our Conclusion on Pools In Sloped Yards
To conclude the question “can an inground pool be installed on a slope?”, the answer is absolutely yes, you can install a inground swimming pool on a sloped yard, but properly installing an outdoor pool on a slope can require considerable financial investment.
You may not want to spend so much money unless you have a large backyard.
Fortunately, there are alternatives if you don’t want to invest so much money. For instance, you could install a hot tub instead. Hot tubs are usually less expensive than pools. Additionally, they’re easier to maintain because they require little care.
But what about those who really want to enjoy their backyard but can’t afford a pool?
Fortunately, there are still options for them! You can build a small-scale inground pool or even a plunge pool.
Smaller models are suitable for smaller homes, while larger ones fit extensive backyards better. Always remember to either hire out or get professional guidance by an experienced swimming pool contractor when considering an inground pool for your sloped yard!

Hello, I am a writer and marketing specialist in Kansas City, MO. My love for swimming pools started as a child when I would visit my aunt & uncle’s inground swimming pool on a frequent basis over the summer. Since then I have taught swimming lessons at a Boy Scout Camp, participated in the full setup, installation and maintenance of my father’s inground swimming pool, as well as enjoyed constantly researching everything there is to know about swimming pools for 5+ years. I enjoy all water related sports, being part of the online swimming pool community and always learning new things!
Leave a Reply