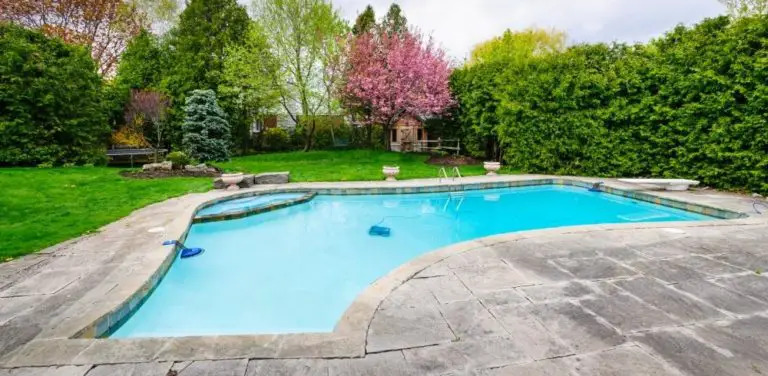
Looking for the best way to correctly winterize an inground swimming pool? Our guide below can be your best resource!
Winterizing your inground pool simply means closing it down ready for the winter months. However, if you are an owner of an inground pool and you live in a climate with four seasons, you must know how to winterize it properly so that you can protect the structure throughout the year.
If you happen to have a salt water inground pool, please follow our guide on how to winterize your salt water pool!
You will need to follow our instructions detailed below, making sure each step is carried out correctly, as well as ensuring you use the correct swimming pool maintenance chemicals in the water.
Luckily we have written this article to help you with those instructions so you’re fully prepared for when winter comes around, as well as give you a little extra information on why you should winterize your pool, when exactly you should do it. So, let’s dive on in!
So Why is Winterizing your Pool so Important?
Winterizing your pool is vital as it protects your pool from damage. When water freezes over, it expands and this can cause damage to not only the plumbing and equipment but also the vinyl walls if your pool has a vinyl liner.
You also need to think about what happens to water when it is stagnant over a long time. Water circulation is important for a reason, it maintains your swimming pool.
This means when the filtration system is disconnected during colder months, the water left in the pool will become a breeding feast for bacteria and other viruses, as well as algae blooms.
Knowing how to properly winterize your pool, however, will prevent these issues from occurring and make your life a lot simpler when it comes to opening it up in the springtime.
You should winterize your pool in the fall and the last thing you want to do is wait for a frost warning or a winter storm to start. Leave plenty of time so the pool is closed down properly before winter creeps around the corner.
We’re going to take you through nine easy steps in the next section so you’ll be able to winterize your pool yourself. These are worth taking note of as hiring a professional can be expensive.
Luckily, with the right equipment and guidelines, it’s simple enough to tackle on your own.
Instructions To Winterize Your Inground Pool in 9 Easy Steps
What you will need:
- Pool Skimmer
- Pool Brush
- Pool Vacuum
- Winter Cover
- Winter Chemical Kit
- Winter Plugs for Return Jets
- Air Compressor or Blower
Step 1) Cleaning your Pool
Before you start, you need to make sure your pool is properly cleaned. Ensure you skim off any debris and brush the surface with your pool brush.
Pay attention to any areas you see are building up with algae or dirt. Once you have finished brushing your pool, run the vacuum or pick up any debris that has sunk to the bottom.
Step 2) Testing and Balancing your Water
The next step involves testing your water to ensure all the chemicals are properly balanced. To do this, you need to use a pool chemistry test kit.
However, if you want the most accurate reading, you can also take it to a local pool store.
If you do test it yourself, ensure your levels lie between the recommended ranges or slightly higher as they are likely to drop during the colder months of the year. The recommended ranges are as followed:
- pH: 7.4-7.6
- Chlorine: 1.0-3.0 ppm
- Alkalinity: 80-140 ppm
- Calcium hardness: 200-400
- Chlorine level: 5 ppm and below
If you don’t usually test these levels, you must do so before winterizing your pool as if any of them are off, your pool could suffer from corrosion undercover as well as algae and buildup.
Step 3) Adding your Winterizing Chemicals
Although a winter chemical kit will come in handy for this step, you can still use the chemicals you have on hand or buy them individually. Bear in mind, however, a winterizing kit will allow you to buy fewer chemicals.
It will also save you a little bit of money. The chemical you will need is chlorine either in tablets, powder or liquid form, pool shock, sodium bicarbonate which is used to raise pH levels, and algaecide.
Following instructions from the manufacturer, shock the pool first. Do this 24 hours before you intend to close it.
You will then need to retest the levels to identify which chemicals should be added to put them within normal ranges and follow up with some algaecide.
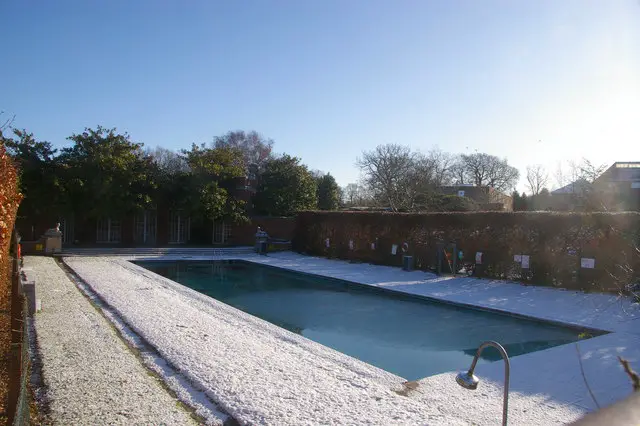
Step 4) Lowering the Pool Water
Now it’s time to lower the pool water around a foot to a foot and a half below your skimmer if you are using a mesh cover, or simply a few inches if you are using a solid cover.
People tend to differ in opinions on how much you should lower your water levels exactly but as a general rule that all pool owners agree on is that you should never drain your water completely.
This is because if you do this or lower your water too much when you use a solid pool cover, you allow air to circulate below the cover which can cause dryness and damage.
Additionally, it subjects your pool to excessive sagging if it gets filled with rain or snow from the storm and this will cause it to not only stretch but rip completely.
You should always lower it part of the way however otherwise the water may freeze and damage the skimmer.
Step 5) Remove your Deck Equipment
Remove the equipment that is attached to your pool. This can include rails, skimmer baskets, eyeball fittings, ladders, ropes, or even diving boards.
You’ll want to store these somewhere ready to bring out again next summer. Make sure they are stored somewhere safe and somewhere you know they aren’t going to be damaged by harsh winter weather conditions.
Step 6) Blow out the Lines
The lines of your inground pools need to be blown out with a blower, air compressor, or shop vac. You can always hire someone for this step but it’s not difficult to do it yourself, especially if you know what you’re doing or you have done it before.
The first step is to ensure the skimmers are almost drained entirely. To do this, scoop out any water left after lowering. You’re then going to want to open your valves to open up the drains.
Set it to re-circulate if you can. Then open the drain plug and connect up your blower to the pump. Often, this requires a special adapter if you are using something other than a pool blower.
An example of this is an air compressor. You know you are on the right track when you notice air bubbles ejecting out of the skimmers and the return lines. Let this run and remove the blower and plug the bottom of the skimmers with a winter plug at the same time.
You’re also going to want to plug the return lines and turn off the blower. If you do have a pool heater, pull the plugs out of your drain and blow it out.
Your heater needs to be completely dry so that it doesn’t freeze and crack in the winter, so make sure you double-check this. Next, you’re going to need to put the plugs back in.
Step 7) Cleaning the Pump and Filter
There are three types of filters. These include DE filters, sand filters, and cartridge filters. DE and sand filters require backwashing and the following instructions outline how you would do this.
- Shut the pump and roll out the backwash hose. Ensure you check the waste line for any closed valves.
- Turn the multiport valve handle towards the backwash.
- Turn the pump on and you should see the water flow out the backwash pipe or the hose.
- Backwash until the water starts running clear. This should take about 2 or 3 minutes.
- Shut the pump off, turn the valve back to the filter, and then turn it on.
- Note down the lower pressure that is on the filter task and the flow rate.
After you have done this and rinsed out the filter, switch off the power and set it to winterize. You then need to take out the inlet hose which is found in the pool pump and take out the outlet hose found in the pool itself.
Ensure you attach one of them to the pool’s inlet nozzle. You then need to take the drain plug from the bottom of the filter and drain out all the water.
If you have DE filters, you also need to backwash these. Simply use the instructions for sand filters. You will need to pull out the assembly and hose it off completely, removing all traces of DE powder.
Cartridge filters however can simply be removed and hosed down. You can then replace them in the tank.
Bonus Tip: Use Swimming Pool Antifreeze
If you have followed step 6 correctly, blowing out all of your lines and live in a milder climate, you might not need antifreeze but if you add it, you could save your pool plumbing by preventing freezing and cracking.
Check the manufacturer’s instructions to see how much to add but it’s usually around 1 gallon of antifreeze for every 10 feet of pipe. If your pipe is dry, you won’t need this much.
Pop the antifreeze into your skimmer or add it to the other lines using a funnel. It’s important to note that it could react when in contact with chlorine however and so do not add it if you have an automatic chlorinator or when you are pouring chlorine into your pool.
Additionally, the antifreeze you use for your car is made of different chemicals so don’t use the two interchangeably and keep away from children or pets.
Step 8) Disconnecting the Pool Filter and Pump
Disconnect and drain the water pump, as well as all the hoses that haven’t been used.
Next, you need to remove the pressure valve from the sand filter, before removing the drain plugs from the pump and popping them in the pump basket.
When everything has been drained and is dry, put the items in to storage, hidden away from the elements.
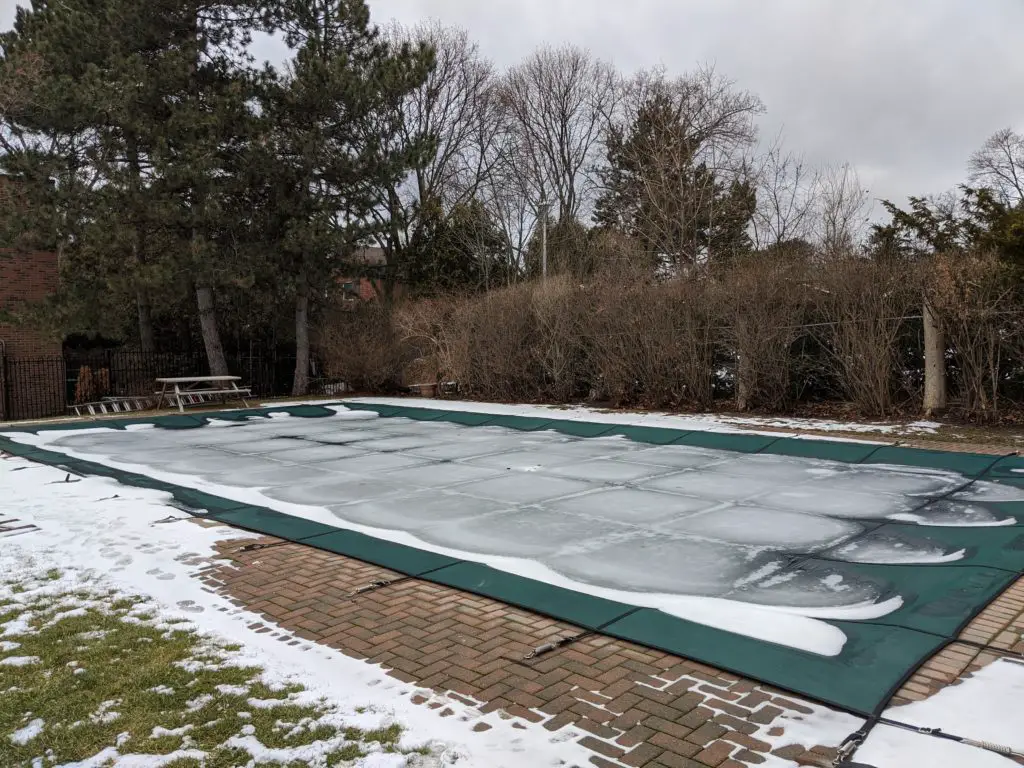
Step 9) Covering the Swimming Pool
Depending on the type of pool cover, you may need to ask for help with putting on your winter cover. If you are using a tarp or another type of plastic cover, inspect it first in case there are any holes or tears.
You can even use patch tape or duct tape to patch up a lightweight cover, or a vinyl pool patch for a vinyl cover. For these covers, however, you might need to secure them with water bags or tubes.
You can also use anchors if you have them available. Water bags are used differently in the winter months. You only need to fill them up about ¾ full. This means they won’t bust if they freeze.
Check for any leaks as you fill them up. If your cover seems heavy like a lot of covers can be, you’ll need to enlist the help of a friend to get it covered. Ask them in advance as you do not want to wait too long after winterizing.
Optional Tip- Utilize A Pool Pillow
An optional tip that is recommended by many pool owners is to use a pool pillow for closing up the pool. Although this is vital for winterizing above ground pools, they also work with inground swimming pools too.
A pool pillow is an air pillow you put on the surface of your inground pool, underneath the actual cover.
It’s used to create space between the frozen water and the cover and can help prevent damage, to the cover and to the pool liner as it helps to prevent expansion as the water freezes.
Properly Opening Up Your Pool
Don’t forget, after closing it for the summer, opening up your pool is not only exciting but just as important to do so correctly. Start by using a pool cover pump to move the water off the cover, remove the cover, remove the plugs and replace the return jets.
Put the skimmer basket in and pop the drain plugs back onto the pump, filter, pressure gauge, and sight glass.
Lube up the O-ring if it doesn’t need replacing before securing the lid and turning on the pump. All that’s left is to add the chemicals, make sure it’s clean and get diving!
Final Thoughts on Properly Winterizing Your Inground Swimming Pool
We hope by reading this article you’ve gained a better understanding of how to properly winterize your inground pool, as well as how to open it up again for summer.
We know that not only is it sad to close up your inground pool for winter, but it can also be a tricky process so ensure you do so correctly by following our step-by-step instructions and summer will be here again before you know it!

Hello, I am a writer and marketing specialist in Kansas City, MO. My love for swimming pools started as a child when I would visit my aunt & uncle’s inground swimming pool on a frequent basis over the summer. Since then I have taught swimming lessons at a Boy Scout Camp, participated in the full setup, installation and maintenance of my father’s inground swimming pool, as well as enjoyed constantly researching everything there is to know about swimming pools for 5+ years. I enjoy all water related sports, being part of the online swimming pool community and always learning new things!
Leave a Reply